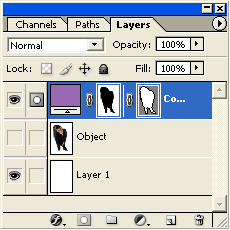
Here’s a few simple steps to transform objects into vector silhouettes & outlines without the use of tedious pen tool tracing.
The image used is courtesy of memebrship with AbsoultVision: The First JPEG2000 Photo Library.
Purchase a membership for thousands of photos at a special anniversary price or sign up for a free image of the week.

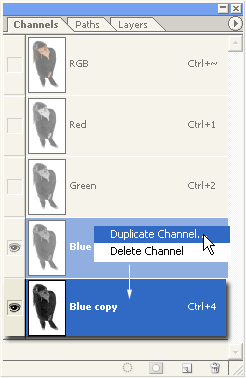
Start by going to the Channels Palette, and duplicate the channel that has the darkest overtones. In my case, it was the Blue channel. Right click the Blue channel, and choose Duplicate Channel from the context menu, as I have captured below.
Next, with the ‘Blue copy’ channel active, go ‘Image/Adjustments/Level’ or ‘Ctrl+L’ (Mac:Command + L) to bring up the Levels dialog.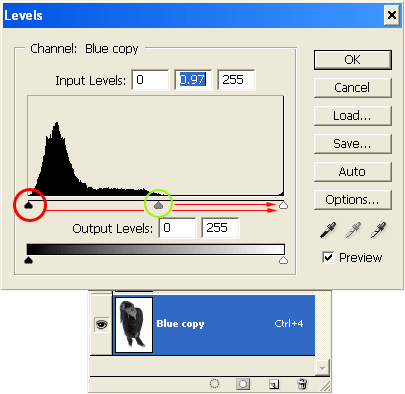
Next, you have two options, drag the Black Point control(encricled in Red above) towards the White Point or the Midtone Point (encircled in green above) towards the White Point. Ultimately, depending on your choice of image you decide which one gets the best results.
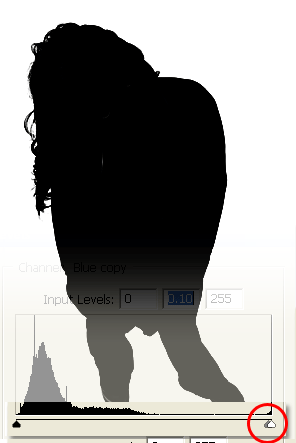
As you can see above, I dragged the Midtone slider to the right to fill in the remaining areas.
Note: If your image still contains areas of black outside the object, then paint it over with white. If there are ares inside the object that contain white or shades of gray, then paint them over with black.
We now have the basis of our selection intact. Now lets load it into our main document.
With ‘Blue copy’ channel still active (highlighted in blue), click the ‘Load Channel as Selection’ command located at the bottom of the Channels Palette (encircled in Red below). Now you should see a marquee/selection around the object in the main document window.
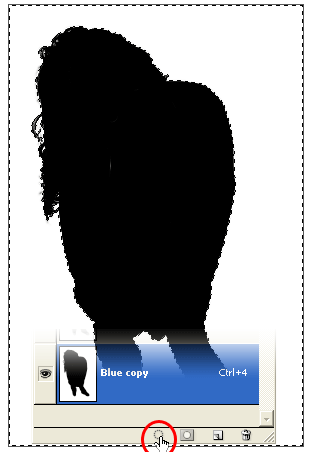
So far so good, however, we need to Invert this selection from the surrounding object to the object itself.
To do this simply go ‘Select/Inverse’ or ‘Ctrl + Shift + I’ (Mac: Command + Shift + I) to focus the selection, as I have captured below.
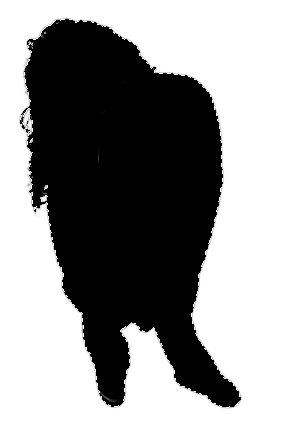
Next, keep the Selection active & switch back to the Layers Palette.
With the target layer still active in the Layers Palette,
Select any one of the ‘Marquee/Lasso/Magic Wand Tools’,
Then right click over your document and choose ‘Make Work Path’ from the context menu items.
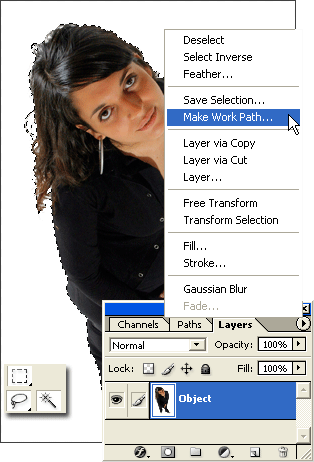
At the next prompt, keep the default settings as I have captured below.

Your selection is now a work path. Depending on the colors in your image, the work path outline may be hard to see. So switch to the ‘Paths’ tab to see the new ‘Work Path’. (Double click it to save it).
Almost there!
Next, set a foreground color of your choice. I used a purple variation #8D69AE.
The on the bottom of the Layers Palette, click the ‘Create New Fill & Adjustment Layer’ icon (encircled in Red below), and from the list choose ‘Solid Color…’.
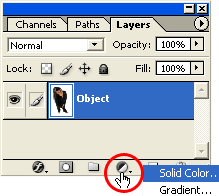
Click OK to commit the ‘Color Picker’ (since we set the foreground color earlier) settings & you should now have a vector silhoette of the original image as I have captured below..
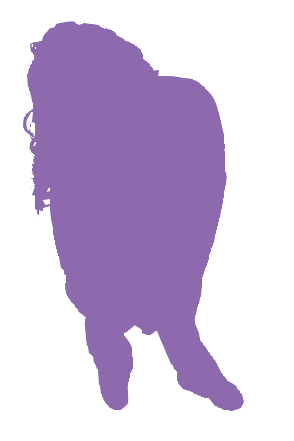
Here is the final Layers palette view.
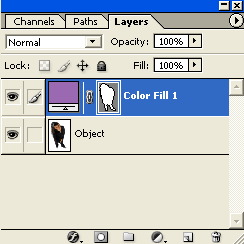
Notes:
‘Ctrl + H’ (Mac:Command + H) to toggle the Path Outline.
This vector shape is resolution independant. Upscale or dowscale it without losing quality.
Double click the Layer Thumbnail to change its color at will.
Additionally, to create a vector outline from the same image, hide the original object layer and create a new layer filled with white, as I have captured below.
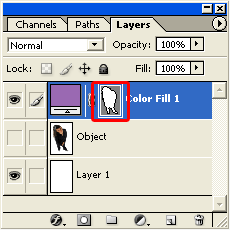
With the Vector Shape layer active, ‘Ctrl + click’ on the ‘Vector Mask Thumbnail’ (encased in red above) to load it as a selection.
Next, go ‘Select/Modify/ Contract’ and set the ‘Contract By’ integer to 1 or 2.
Then, ‘Select/Inverse’.
Finally, click the ‘Add Layer Mask’ icon on the bottom of the Layers Palette.
This is the result.
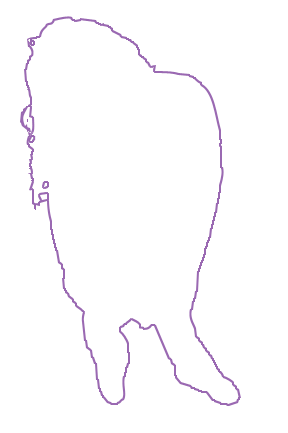
Here is the resulting Vector oultine Layers Palette view.
