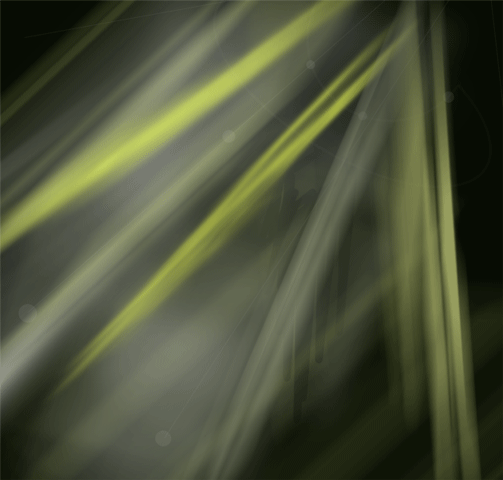
Here is a simple technique using brush strokes for making some trendy background (Texture)effects.
-
– Start with a new document. (Choose a large preset for a better effect.)
– Dark backgrounds work best, so I used Black.
– Hit the ‘X’ key on the keyboard to set the foreground color to White.
– Then select the ‘Brush Tool (B)’ tool, and with a medium size tip (I used tip size of 5) just click and draw a few lines in a diagonal direction, as I have captured.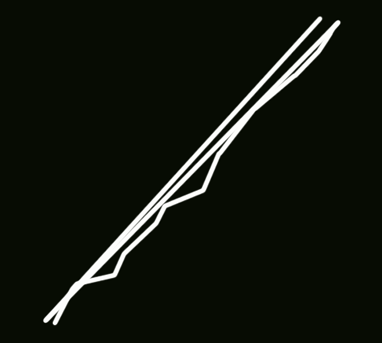
-
Next, apply ‘Filter/Blur/Gaussian Blur’ with a ‘Radius’ of roughly 2 to 3 pixels (I used 2.8).
This just gives it an out of focus edge to the lines.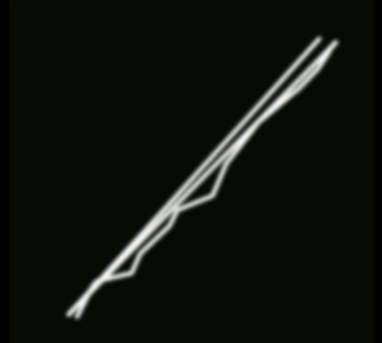
-
Next, select the ‘Smudge (R)’ tool from the ‘Toolbar’ and with a large Brush tip (I used 19 – ‘Options Menu’ strength option of 50%) simply smudge in diagonal positions working your way up until you’ve covered the whole of the blurred lines.
Not too much, just enough to create some jagged edges, as I have captured.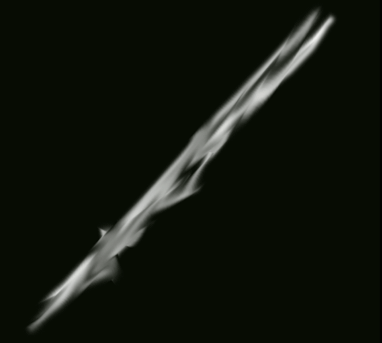
-
Next apply ‘Filter/Motion Blur’.
Use the same settings as I have captured. The important thing here is the ‘Angle’, keeping it in line with the actual position of the blurred lines on the canvas. (Play with the ‘Distance’ integer until its close to mine) Then hit the ‘OK’ command button.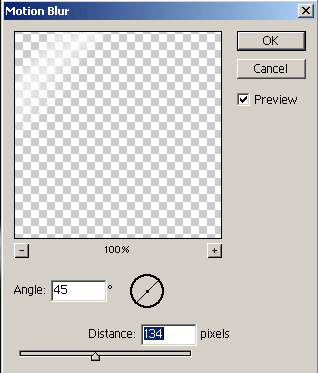
-
You should have something similar to the below image.
This is the general effect I basically wanted to achieve, and with various similar effects on different layers can produce nice results.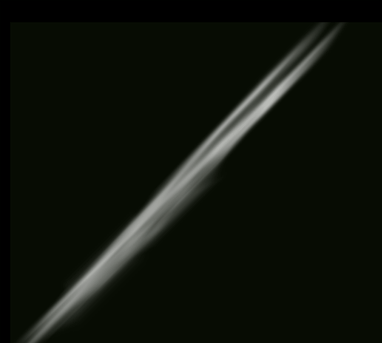
-
To further enhance this layer, lets apply some color.
First lets set the foreground color to something bright, I used #46C24F.
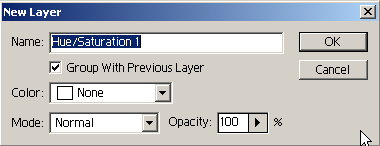
Then, to avoid destroying the original layer, go to ‘Layer/ New Adjustment Layer’ and select ‘Hue/Saturation’. -
The ‘New Layer’ prompt pops up, choose ‘Group with Previous Layer’. Then hit the ‘OK’ command button.
Then in the ‘Hue/Saturation’ dialogue box, select the ‘Colorize’ option to the lower right (also the ‘Preview’ option).
You won’t notice any immediate effect, until you adjust the sliders.
The settings I have captured brings it close to the foreground color we set earlier.(Hence the ‘Colorize’ option).
Hit the ‘OK’ command button when your satisfied with the results.
NOTE: ‘Layer/ New Adjustment Layer /Channel Mixer’ works well with this also.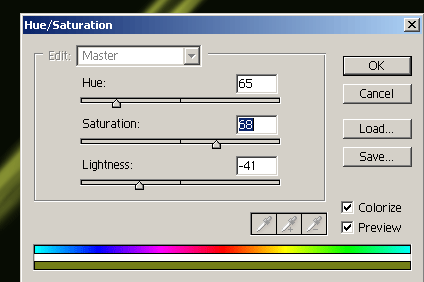
-
This is what mine looks like now.
If you didn’t get this result the first time round, not to worry, with a little practice you will.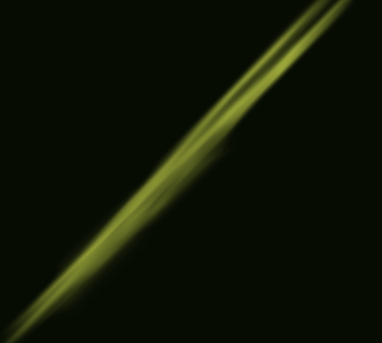
-
I then repeated the above process on different layers, same color, altering brush tips and motion blur distance.
Here’s the Final Result!
