Here’s a quick color/photo manipulation using blending styles…yip, you read right, follow along to see how.
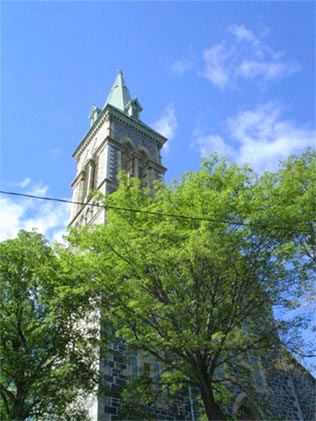
Here’s the starting photo. A church in my neighborhood, surrounded by lush trees.

- I’ve created a Set with the original photo called’autumn’.
I then duplicated it and positioned the copy version below the original in the layer stack.
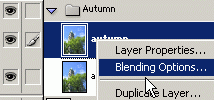
- Next, right-click on the original photo layer and choose ‘Blending Options’ as I have captured below.

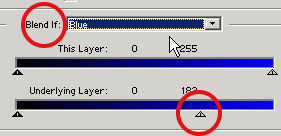
- In the main ‘Blending Options’ panel change the ‘Blend If’ default Grey to ‘Blue’ and then drag the far right ‘Underlying Layer’ slider to the left as I have captured below.

- Next, from the ‘Color Overlay’ blending option change to a color that best represents autumn leaves. (I used #F17F04) and change the ‘Blending Mode’ to ‘Hue’ as I have captured below.

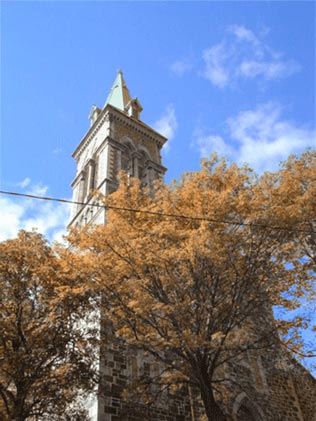
Here’s the final result. Quick and easy eh!

