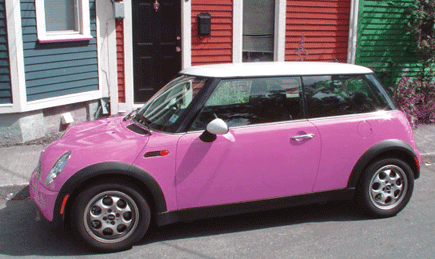
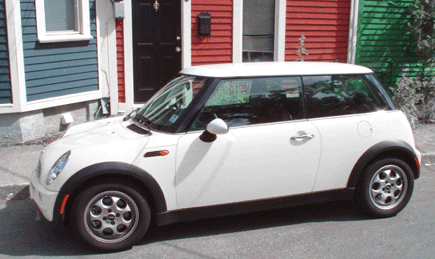
Here’s simple ‘Adjustment Layer’ technique on how to alter a particular color within a photo.
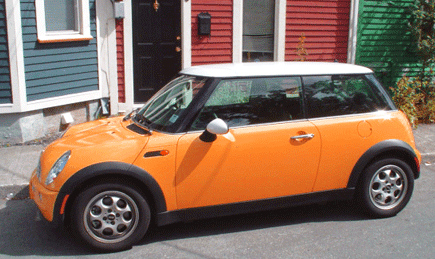
Below is the original photo I took of a mini car from my neighborhood.
In this lesson I will use the adjustment layer ‘Hue/Saturation’ to do this. So please follow along.
- So start off by placing the original photo in a new document.
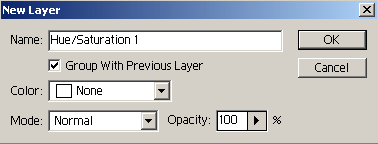
- Next, go to ‘Layer > New Adjustment Layer > Hue/Saturation…’ menu command.
- Because this is a ‘New’ adjustment layer, the next screen prompts you with a few more options. The only one to be concerned with here, is to make sure to check the option ‘Group with Previous Layer’.TIP: The benefit of using adjustments layers is that it provides unique adjustments to your composition without destroying the original pixels. Unlike the same ‘Adjustments’ from the ‘Image’ menu option, any affects done through those options is applied directly to your photo.
So ultimately, flexibility and non-destructive habits are well worth learning.
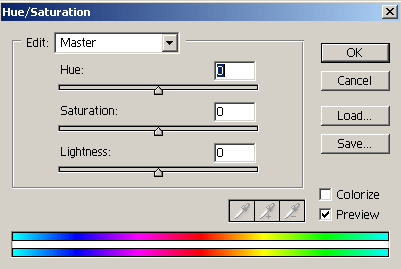
- Next is the actual ‘Hue/Saturation’ control panel.
Just a brief: This panel allows for two ‘Edit’ color ranges from your composition. Particularly, ‘Master’, meaning all color channels are affected. Then the Selective options below the ‘Master’ list giving you even more flexibility over what you want to change.Also, tick the ‘Preview’ option on the lower right to see in real time the changes you need to make.
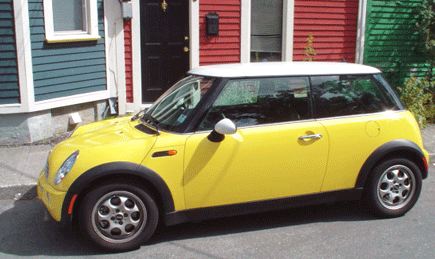
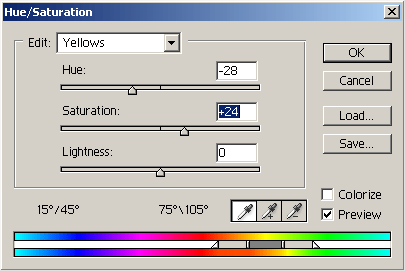
- In our case, we’ll concentrate on the yellow color based on the body of the mini car. So from the ‘Edit’ list choose ‘Yellows’ and match the ‘Hue’ and ‘Saturation’ values I have captured below. (Feel free to experiment with the sliders!)
And here’s the modified image.
Some other variations.
