Here’s a few simple steps to create this realistic glass effect pattern.
First start a new document from the File > New menu command. At the New Document dialog use a preset of 343 x 275, Foreground color of #BDE6F3 & Background color of#000000 (Black). Ultimately, you choose your own varying color swatches, as this effect produces different results but the same effect. Click OK to commit the new document creation.
Press the D key to reset the Foreground/Background color swatches to Black/White.
Next, create a new empty Layer (Layer > New Layer) and apply a ‘Clouds’ Filter (‘Filter>Render>Clouds’) to produce a result similar to the below capture.
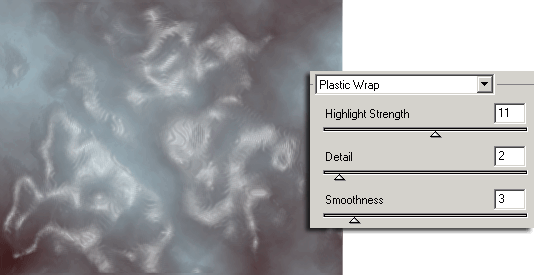
Next, go ‘Filter>Artistic>Plastic Wrap’ and apply the below captured settings.
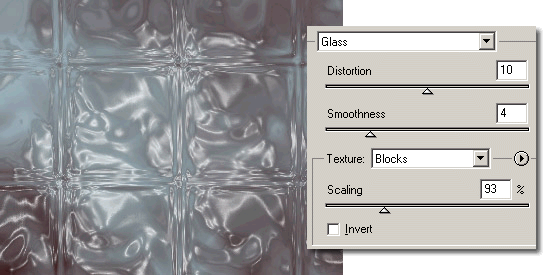
Next, go ‘Filter/Distort/Glass’ and apply the below captured settings.
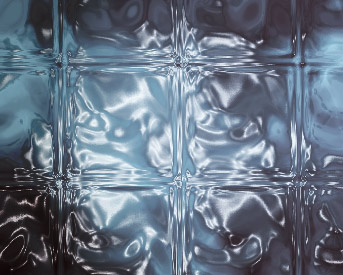
And here is the final result.
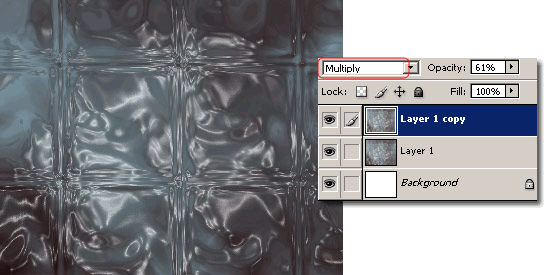
As an added effect to the tone, simply, duplicate that end result Layer, and change the Layer Mode to ‘Multiply’ and reduce the Opacity Level to a desired integer. (I used 61%)
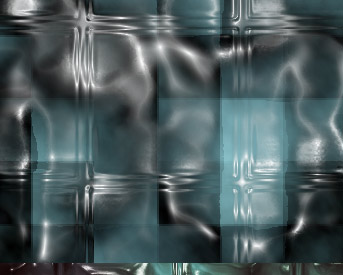
And here is the variation.
A few more variations