A simple method of creating fairy or galactic orbs using varying gradients and blend mode combinations.
-
To begin, I created a new document using Background Color of White and width/height dimensions of 345×435, then created a Color Fill Adjustment Layer using #00394d, then adjust that Color Fill 1 Blend Mode to ‘Hard Light’, as captured below.
-
Next, set the Gradient Options:
A. Create a new empty Layer (Layer 1)
B. Set Foreground/Background Color Swatches to Black/White.
C. Select the ‘Gradient Tool (G)’ from the Toolbar.
D. Set Gradient Tool Options Bar features.
-
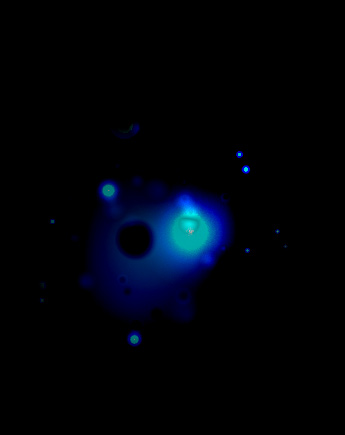
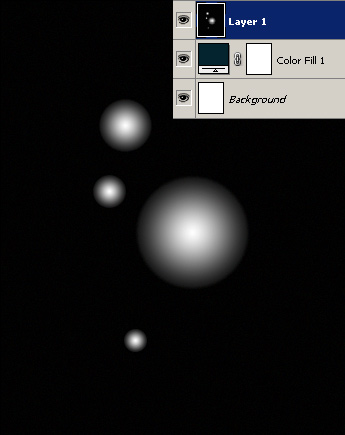
With the above Gradient settings in place, draw four (at least an even number) of ellipse shapes as captured below.
-
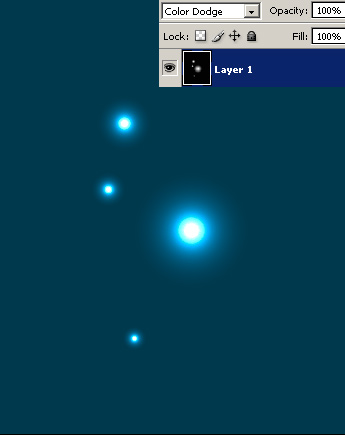
Then change the ‘Blend Mode’ of ‘Layer 1’ to ‘Color Dodge’, as captured below for the changing effect.
-
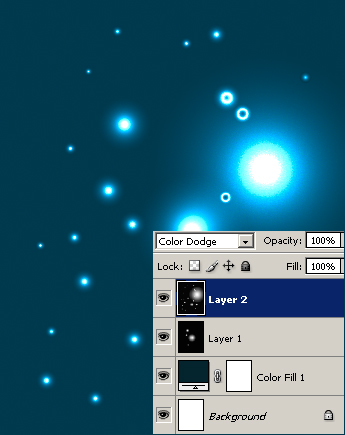
Create a new empty ‘Layer’ (Layer 2)…
-
… repeat process.
-
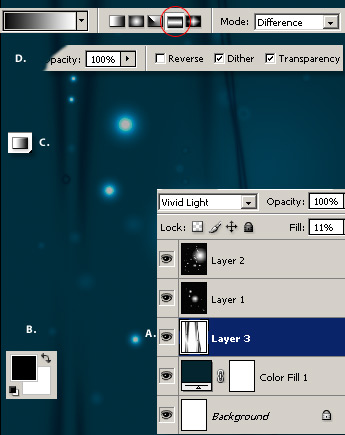
Finally:
A. Create a new empty Layer (Layer 3) above the Color Fill Layer
B. Set Foreground/Background Color Swatches to Black/White.
C. Select the ‘Gradient Tool (G)’ from the Toolbar.
D. Set Gradient Tool Options Bar features.
Choose Reflected Gradient – encircled in Red, then draw a few of them from left to right direction.Change Layer 3 Blending Mode to ‘Vivid Light and reduce it’s Opacity to a low percentage.
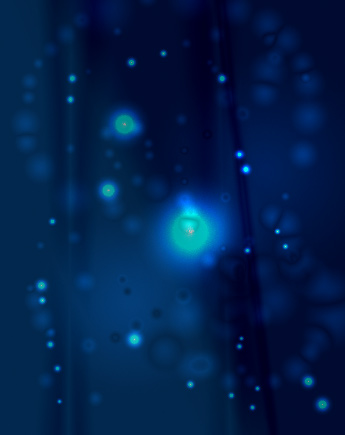
Here is the final version.
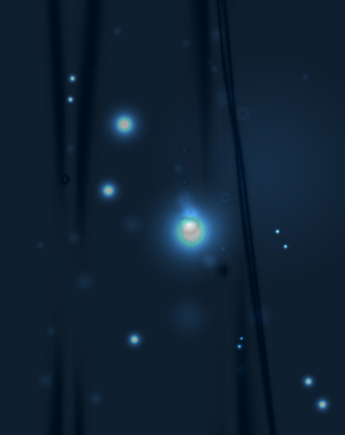
Experiment by adding more gradients for vary effects such as the following.