Here is a workflow tip when working with Auto-Shapes and applying multi-tiered filtering.
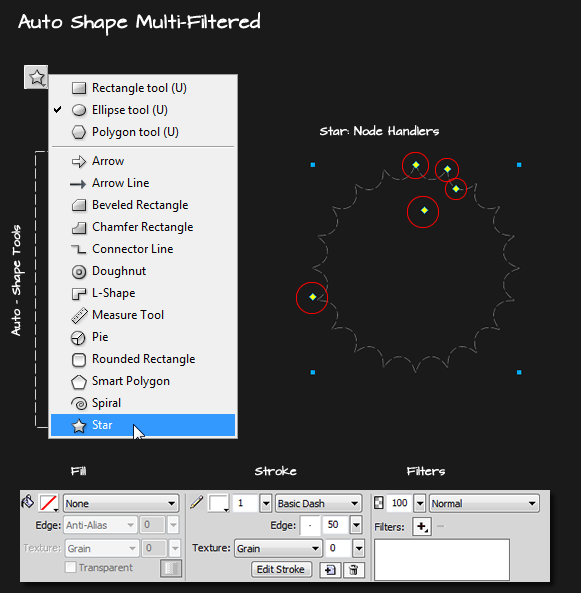
As captured below you can locate the 13 native Auto-Shape Tools directly from the Toolbar. When drawn to Canvas, the Star Auto-Shape for example, you get special object oriented (yellow) node handlers (encirceled in red) that provide user to object dynamic alterations. Click and drag any one of them to tweak.
You also get the traditional Property Inspector object properties of Fill, Stroke and Filter.
[message type=”info”]Additional Auto-Shapes can be found in the Window > Auto Shapes Panel.[/message]
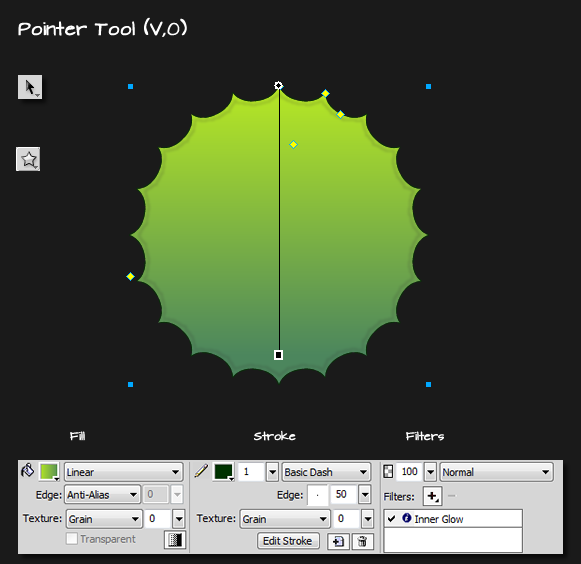
Ok, now here’s the rub – select the the Auto-Shape object with the Pointer Tool and add your choice of Fill, Stroke and Filter.
For the sake of brevity I only applied an Inner Glow filter.
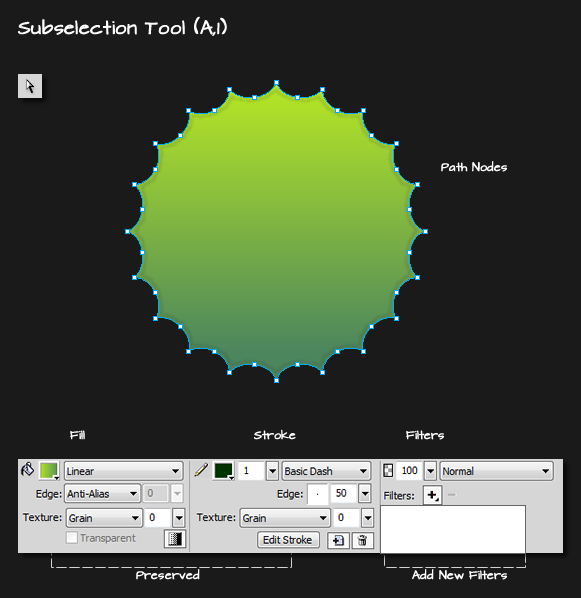
Now toggle to the Subselection Tool on the Toolbar and select the same object.
Notice what happens!
- The Subselection Tool selects the objects’ Path outline and shows the individual path nodes that define it, even though this is still an Auto-Shape.
- The Fill and Stroke is preserved but now we have another opportunity to apply additonal filters.
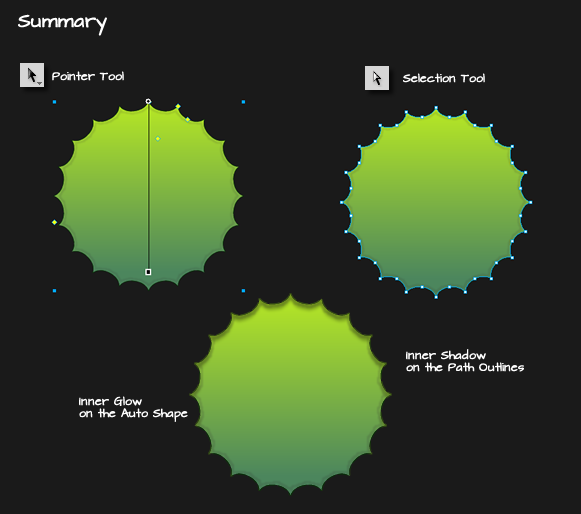
In summary, toggle the Pointer Tool and Subselection Tool on Auto-Shapes will allow room for multi-tiered filtering.
[message type=”warning”]
Words of Caution:
- It’s not easy determining which Auto-Shape has this multi-tiered filtering applied, if your document uses a lot of them.
- Ungrouping an Auto-Shape, only the Subselect filter remains.
[/message]
Have Fun.

