[message type=”warning”]Be aware that the Export Transparent Image Wizard only exist in Photoshop CS2 and earlier.[/message]
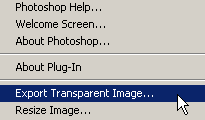
Here’s a few simple steps to achieve another method of eliminating the background of an image when exporting the image to a page layout, vector-editing application, or printing purposes. This method is kind of out of the way and is found under the ‘Help>Export Transparent Image’ menu command.
Although, it’s a wizard interface, it still requires that a ‘Selection’ be made before hand.
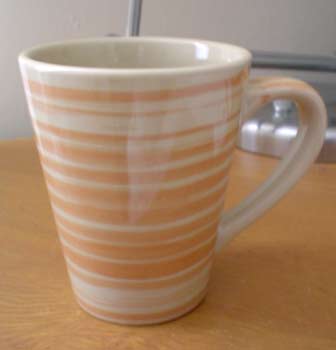
Below is the working image, and the goal is to separate the cup from the rest of the image.
- Start with the ‘Pen Tool (P)’ (with ‘Path’ Options Bar feature active) (or any other Selection Tool) on the Toolbar and trace around the outer edge of the cup, until you have a complete path. (As I have captured below) To adjust the curve of the Path use the ‘Convert Anchor Point Tool’ (Hidden under the Pen Tool on the Toolbar)This image will require two paths, one on the outer edge and one for inside the cup handle.
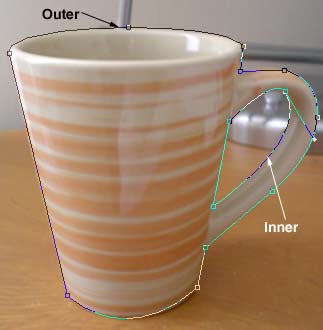
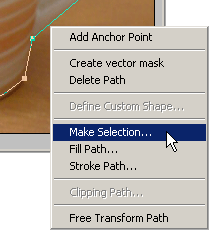
- Next, select the ‘Path Select Tool (A)’ on the ‘Tool Bar’, and with the ‘Shift’ key held down, click on the two paths (as I have labeled above – Inner & Outer) in the document. Next go up on the ‘Options Bar’ & select the ‘Exclude Overlapping Shape Area’ .[message type=”info”]Note: The above step is important. By not choosing this option, Photoshop will close the two paths into a single selection , which is NOT what we want to achieve.[/message]Then, simply Right/Control+Click to reveal the context menu items, and from the list choose ‘Make Selection’.
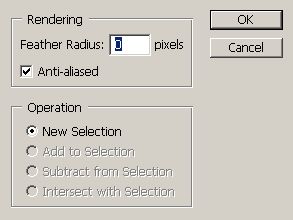
- At the next prompt Selection Rendering options, leave the default settings as I have captured below.
- A Selection should now be made to the surrounding areas that we want to make transparent, as I have captured below.
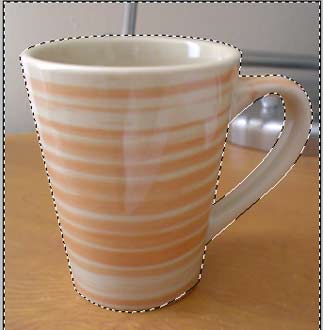
[message type=”info”]Note: You can save your Selections for further or repeated use, by going to the ‘Select/Save Selection’ menu command, while your Selection is still active.[/message] - Now, we are ready for the wizard. While your Selection is still active, go to the ‘Help>Export Transparent Image’ menu command, as I have captured below.
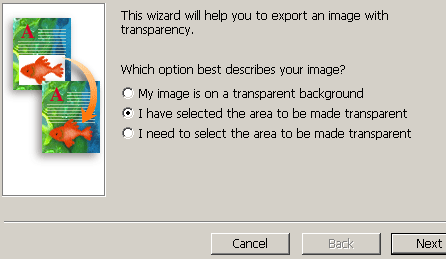
- At the ‘Export Transparent Image Wizard’ prompt, choose the middle option. (Since we just completed the Selection process above), then hit the ‘Next’ button option.
Then choose the ‘Print’ option and the ‘Next’ button command as I have captured below.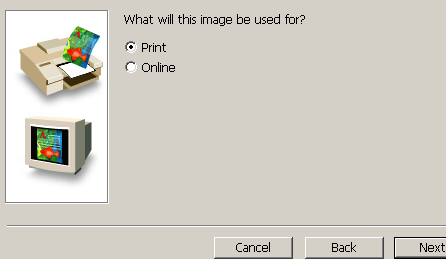 The wizard will finish with the ‘Save As’ dialog box, prompting you to a location on your hard drive. The wizard also defaults with the resulting .eps filename, though you are not limited to it.
