This method is a straight forward method and involves the ‘Background Eraser Tool (E)’ . This tool finds the edges of an object but instead of selecting the object, they remove pixels outside of it. This tool works best when theres more than one color in the background to be removed.

With this tool active, activates some further ‘Options Bar’ features for this tool.

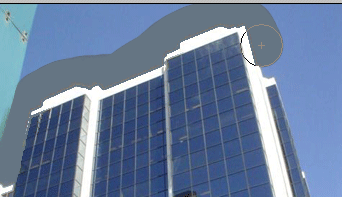
The important thing to note here is the position of the ‘Cross Hair’. Keep it outside the edge of the areas you want to protect and only in the background area. As you see below, with the above ‘Options Bar’ settings, a single click and drag of the ‘Background Eraser Tool’, I’m able to make a clean erase along the edge of the building. (Your image will require a variation on the ‘Tolerance’ option.)
The ‘Sampling – Once’ option sets the ‘Background Color’ map and tells the Brush what to erase.

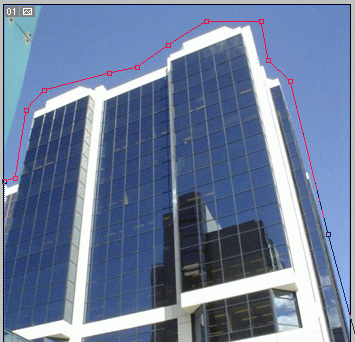
Alternatively, instead of click and drag method, draw a rough line (from left to right) with the (‘Paths’ ) ‘Pen Tool (P)’ , as I have captured below.

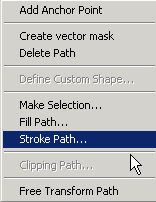
Then with the ‘Direct Selection Tool (A)’ active, right-click (Mac: Command + click) and choose ‘Stroke Path’.

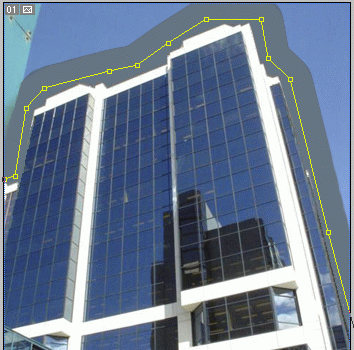
Then from the ‘Tool’ list choose the ‘Background Eraser (E)’ then hit OK.

Based on your, ‘Background Eraser’ Option Bar settings (I used the same as above), it should make a clean erase along the path. Then with the normal ‘Eraser Tool (E)’ simply erase away the remaining unwanted background areas.

Note:
- Continuous: Sampling is based on any color range that falls under the cross hair. (Watch the Background Swatch color change as you move around with this tool
- Once: Single click on the background will tell the Eraser tool the sample color to eliminate.
- Background Swatch: Erase only areas containing the current background color.
- Anti-aliased: This keeps a smooth transition between erased and non-erased parts.
- Tolerance: Defines the range of similar colors that can be erased.
