Here’s a few simple steps to automate crop and straighten from scans.
To begin place a few images on your flatbed scanner. My scanner is a HP Scanjet 3570c.
Note: My scanner has a Slide/Negative slot at the roof of the Scanner lid so I placed a white sheet on top of the placed images to prevent it from appearing in the final scan.
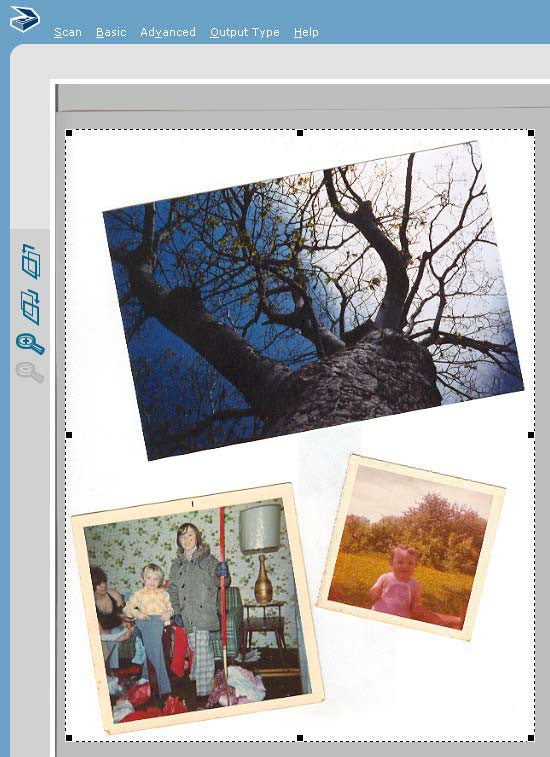
Once the images are in place, with Photoshop open go to the ‘File/Import’ menu command and select your Twain device driver option from the context menu options. As captured below, mine is the ‘Hp Scanjet 3500c Series…’.

This will load your Scanner software and prepare them for capture to be imported into Photoshop.
Once content with the preview and the placement of your images, select the ‘Accept’ command to complete the import process.

Upon ‘Accept’ the images are imported as a single Photoshop file and the scanner software closes.
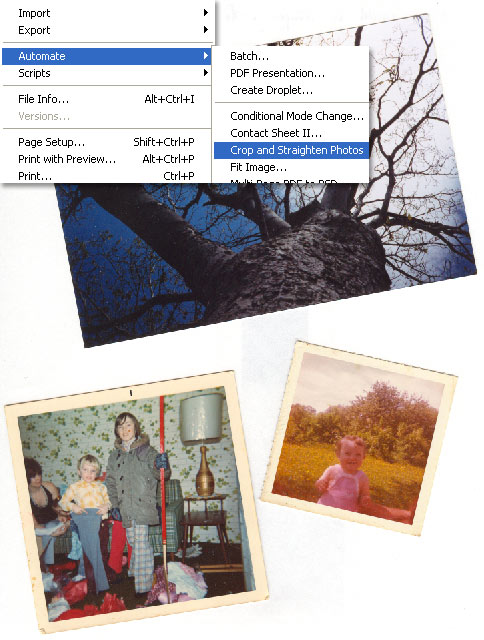
Next, go ‘File/Automate/Crop & Straighten Photos’ script from the available list, as I have captured below.

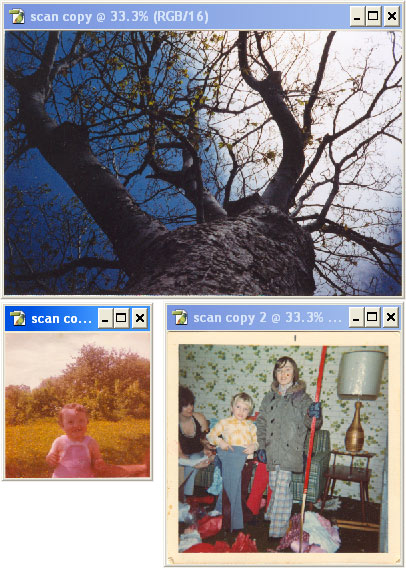
Within seconds Photoshop will produce perfectly cropped and straightened individual documents, as I have captured below.
Save each image to your desired location on your drive and repeat process for other images when required.

Summary:
- Place images on your scanner bed.
- ‘File/Import’ and select your Twain driver device.
- Accept the scan preview.
- Finally go to the ‘File/Automate/Crop & Straighten Photos’ menu command.
