Select the ‘Background Layer’ in the Layers Palette, then hit ‘Ctrl/Command + R’ to show the Ruler Bar’s (If not already visible)
Then drag a Horizontal and Vertical Guide from the Ruler Bar to meet at the center point of the new document.
TIP: Make sure ‘View/Snap’ is turned on. Then drag the guides SLOWLY and you will notice that the guide will automatically find the center point of the document.
(Applies only to the background layer and individual layers)
Then with the ‘Ellipse Tool (U)’ and ‘Paths’ turned on in the ‘Options Bar’, draw a Path and position it to the center of your document, as I have captured to the right.
(I also dragged an extra Guide to the top of the Path)
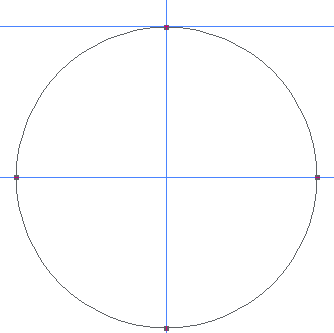
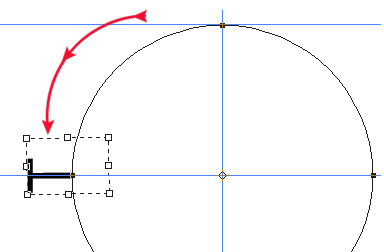
Position the letter at the very top of the circle ‘Path’.
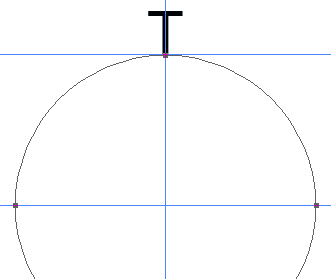
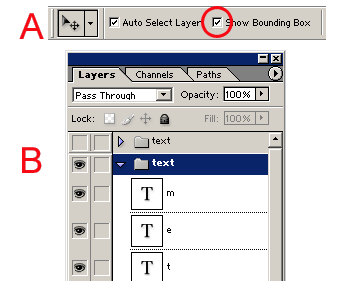
Then, (B) then click (but don’t transform yet!) on any of the four corner Bounding Box Anchor Points (Red Circle) and you should see the Transform options on the ‘Options Bar’.
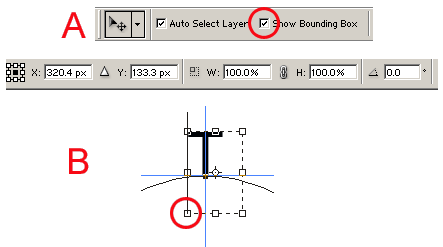
(This is a zoomed in shot)
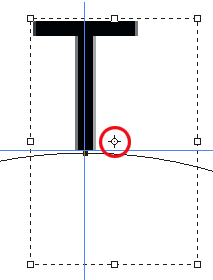
Now click and drag that Center ‘Reference Point Locator’ to the center of your document , as I have captured.
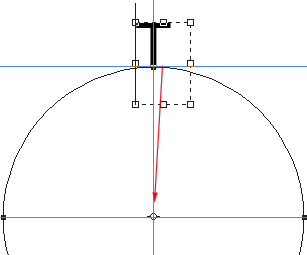
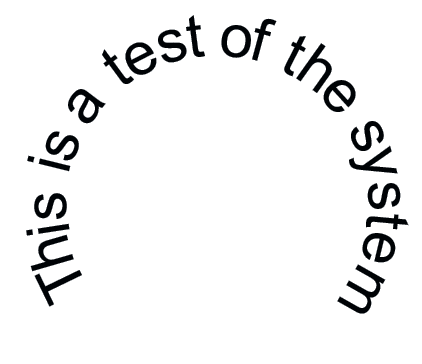
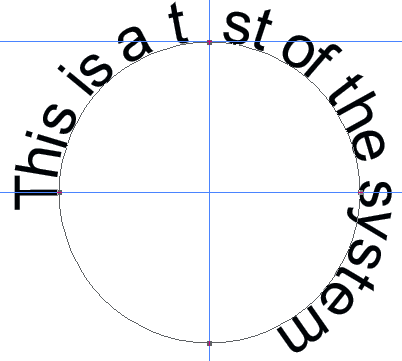
So the finished circular text, does not appear in alignment.
Do I have to start over? NO!
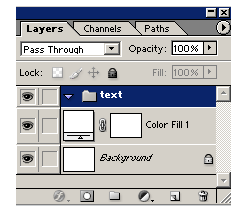
Then (B) Select the ‘Text’ Set in the Layers Palette.
Again (as in step 4/b) select any corner of the Bounding Box, then (as in step 6) drag the center ‘Reference Point Locator’ to the center of the document.
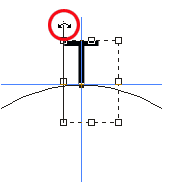
Mouseover (as in step 7) the parameter of the Bounding Box until you see the ‘Rotate’ handlers, then (as in step 8) drag to rotate until your content with the alignment.
Advantage of using this method: the text is edit able.
Disadvantage: using individual letters
TIP: Hit Ctrl + H (key) to hide the original Path and Guides from view.
