Here’s simple ‘Style’ applied to an Ellipse Shape.
Applying a knockout to the center and using a Satin Layer Style makes for a neat object.
- Start off with a new document (mine 341×313) , next hit the ‘D’ key on your keyboard to set the foreground to ‘Black’, then hit the ‘X’ key to reverse it to White, then from the ‘Toolbar’ choose the ‘Ellipse Tool’ and draw (hold the ‘Shift’ key to constrain to proportion) an ellipse. (Size of my Ellipse is 388×388 pixels)
NOTE: To get the actual size of your shape, Ctrl + click on that particular layer in the ‘Layers Palette’ to select it. Then go ‘Window/Info’ and under the ‘Info’ tab check the actual ‘W: & H:’ values to see if they resemble my values. I only stress this point becuase the a big difference in your values at this stage will produce a different result once you apply the different styles. So try to get close!
If you an exact match, then once you have drawn your shape, hit the ‘T’ key to select the ‘Transform Tool’. With the ‘Info Panel’ still open, click on a corner Transform point and scale in the direction until those values in the ‘Info Panel’ match 319×319.

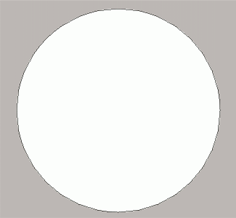
- Next go to the Options bar at the top and choose ‘Subtract From Shape Layer’ and draw another Ellipse shape to the center of the previous one.

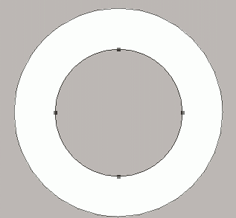
- Next right-click on the shape layer in the ‘Layers Palette’ and choose ‘Blending Options’ from the context menu options.

- Set the Bevel & Emboss options as I have captured here.
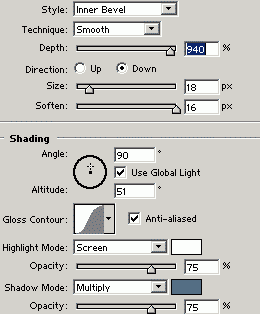
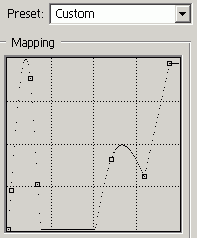
- Next, set the Contour to the Map as I have captured.

To create the ‘Contour’ curve that I used, click on the Contour thumbnail map
 to bring up the ‘Contour Editor’ and recreate what I have captured.
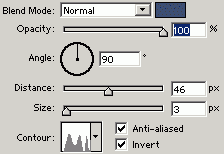
- Next, set the ‘Satin’ options as I have captured.
‘Blend Mode’ color =’#3A4C70′.
Here’s the final shape.

And a variation with a different color.

