Start this process with the ‘Pen Tool (P)’ from the Toolbar selected ![]() and ‘Paths’ active up on the ‘Options Bar’
and ‘Paths’ active up on the ‘Options Bar’ ![]() .
.
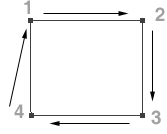
Then click to create four anchor points connected to create closed cube path, as I have captured below.
Note: Follow in the pattern as indicated by the arrow direction, and after you have made the fourth anchor point, continue back to Anchor Point 1 and click to complete or close the Path.
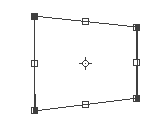
Alternatively: to create a simple rectangular path without using the Pen Tool is to select the ‘Rectangle Tool (U)’ ![]() on the Toolbar, with Options Bar ‘Paths’
on the Toolbar, with Options Bar ‘Paths’ ![]() icon active, then just click and drag to create it.
icon active, then just click and drag to create it.
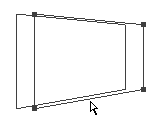
And line them up Anchor for Anchor so that you achieve a simple wireframe effect as I have captured below. 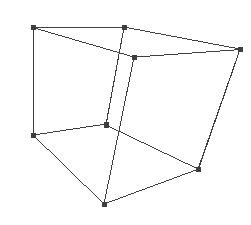
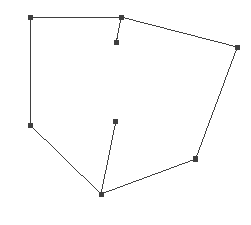
A simple work around would be to select all of the four Paths (usually indicated by solid black Anchor Points, like in Step 5) and then on the ‘Options Bar’ select the last feature ‘ Exclude Overlapping Shape Areas’ icon ![]() .
.
Optional: Then hit the Combine button to merge all four paths into one, without Photoshop closing any of them.
Note: Combine cannot be undone, and doing so you will not be able to perform the below clarification.
Then right click (Mac: Control click) to reveal the context menu items and from the list choose ‘Stroke Path’. (I used a brush setting of diameter: 2 / color :black)
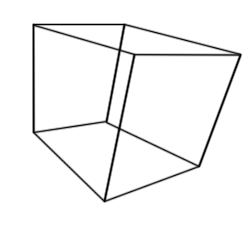
Clarification:
Your probably wondering whats the big deal here! To clarify, in the below screen shot without using the Combine option and adjusting any of the sides (as I did to the foreground path).
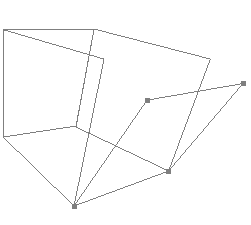
Again perform the same ‘Stroke Path’ procedure as in the above Step 7 and you will see that Photoshop did not close the path. Lot’s of room here for flexibility.
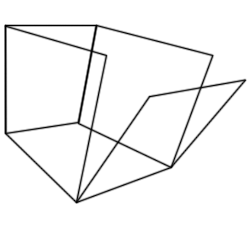
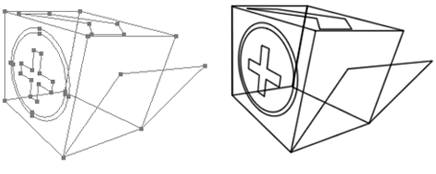
Here’s a variation, with additional single path line. (Paths on right / Stroked Path on Left)
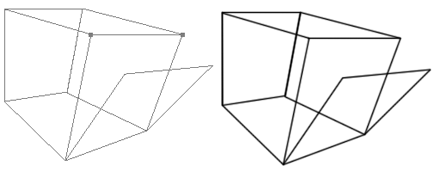
Here’s a variation combining Custom Shape Paths (Paths on right / Stroked Path on Left)
